Getting Started
Core Concepts
Reference
Troubleshooting
Feedback
Node.js + Express - Starter Template
Deploy a starter template Node.js app using the Express framework on Aptible
Overview
The following guide is designed to help you deploy a sample Node.js app using the Express framework on Aptible.
Quick Links
Deploy Template
⚠️ Prerequisite: Ensure you have Git installed.
Using the Deploy Code tool in the Aptible Dashboard, you can deploy the Express Template. The tool will guide you through the following:
Step 01: Deploy with Git Push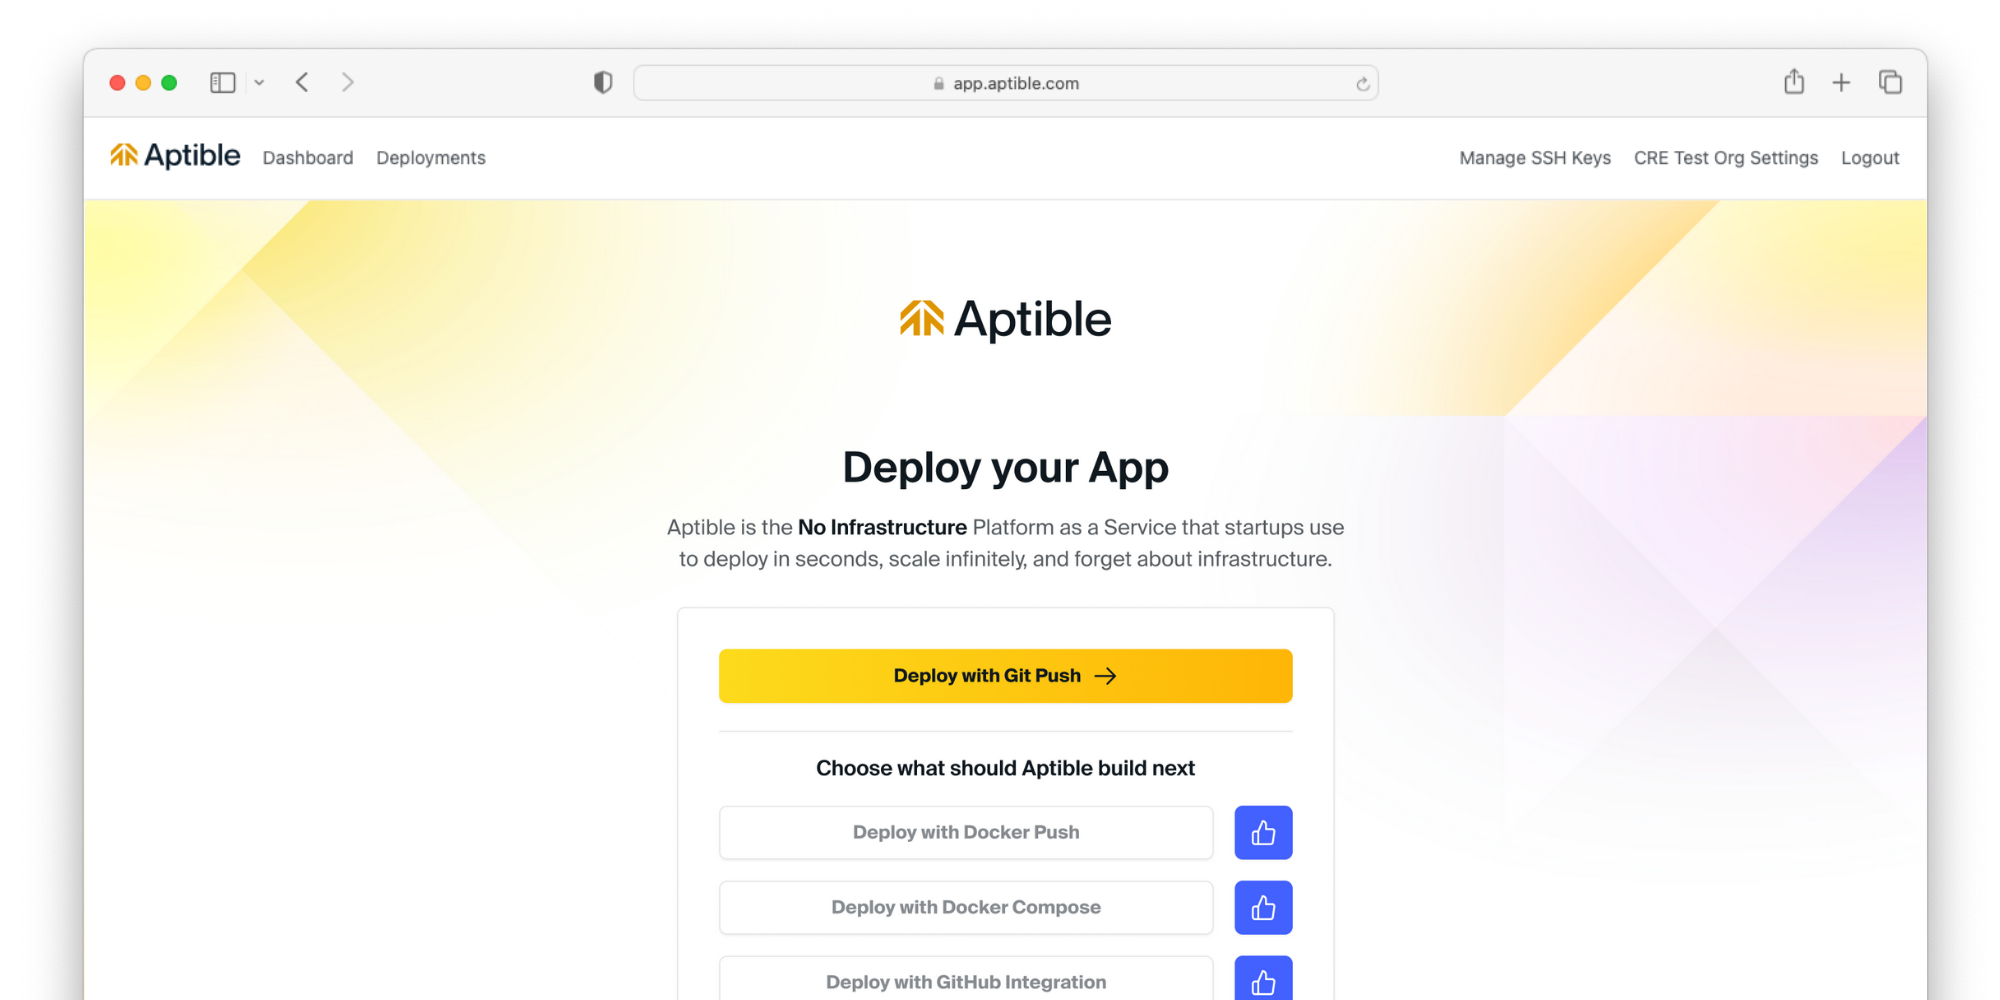
Step 02: Add an SSH key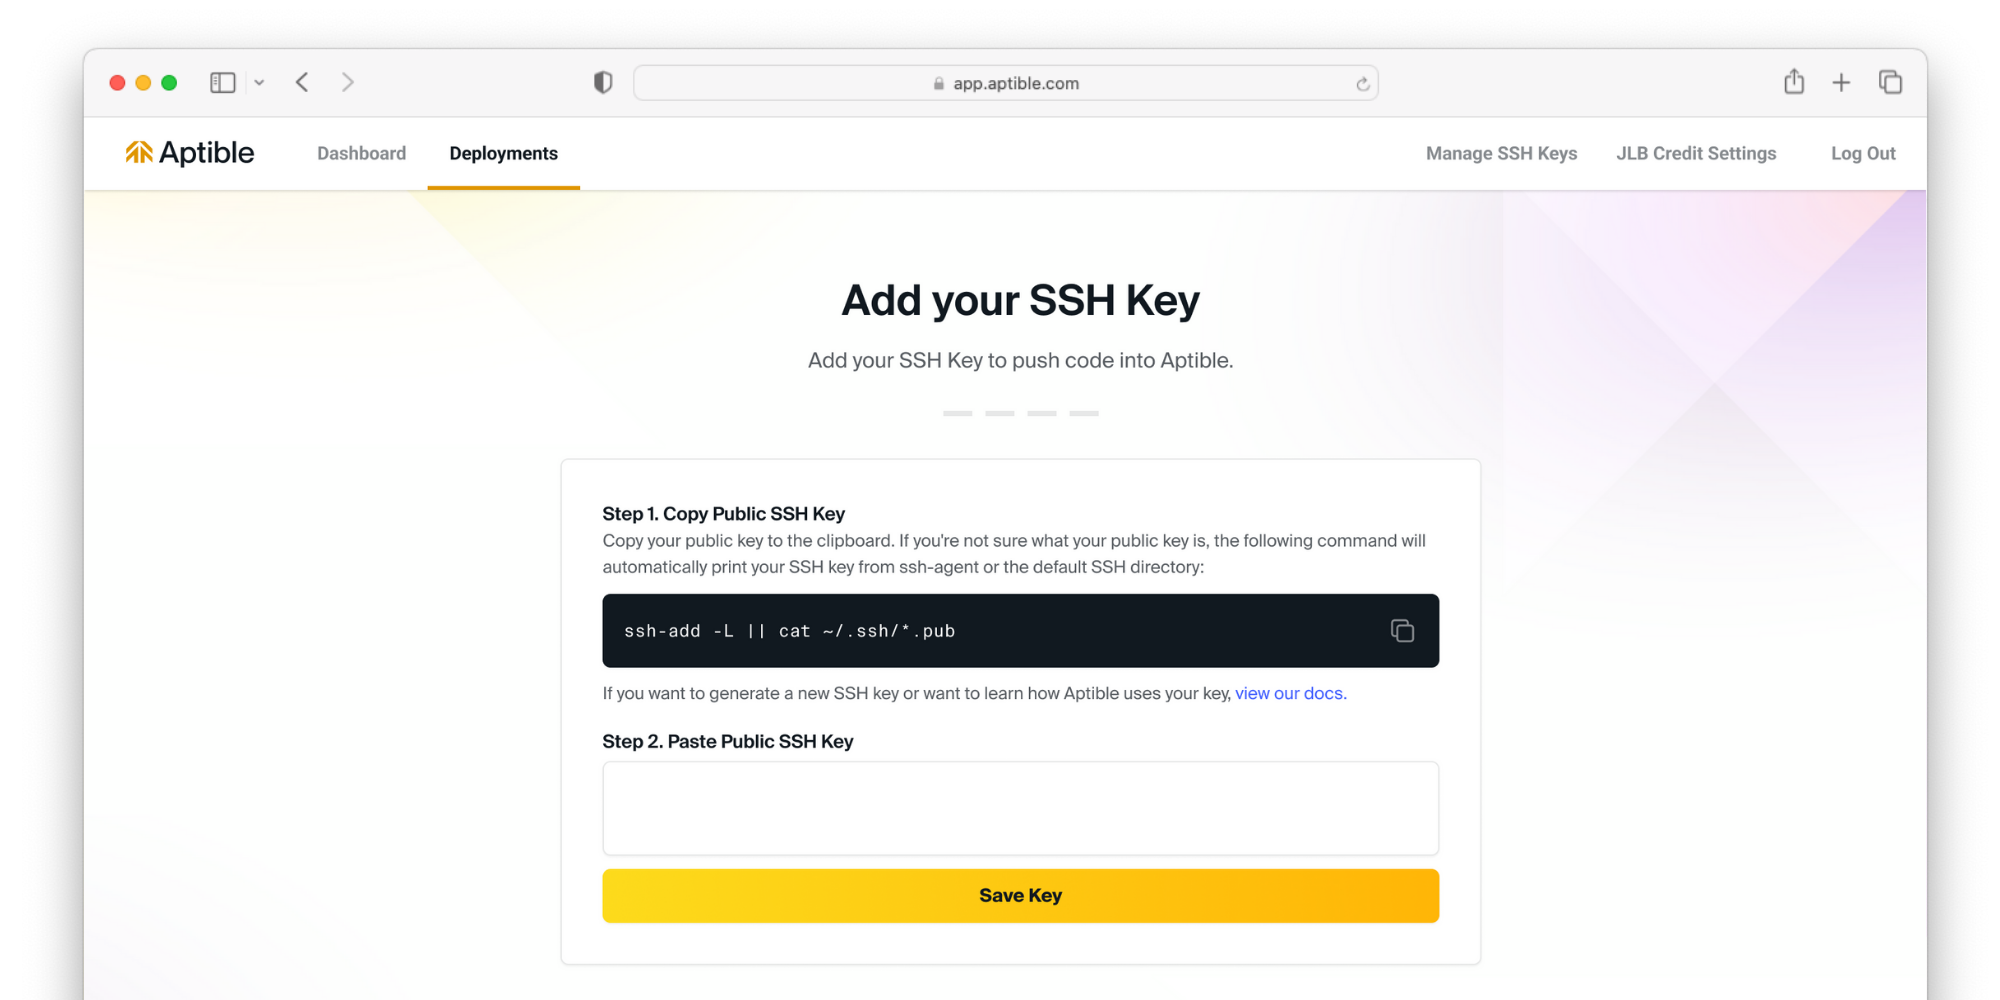
If you have not done so already, you will be prompted to set up an SSH key.
Step 03: Environment Setup
Select your stack to deploy your resources. This will determine what region your resources are deployed to. Then, name the environment your resources will be grouped into.
Step 04: Prepare the template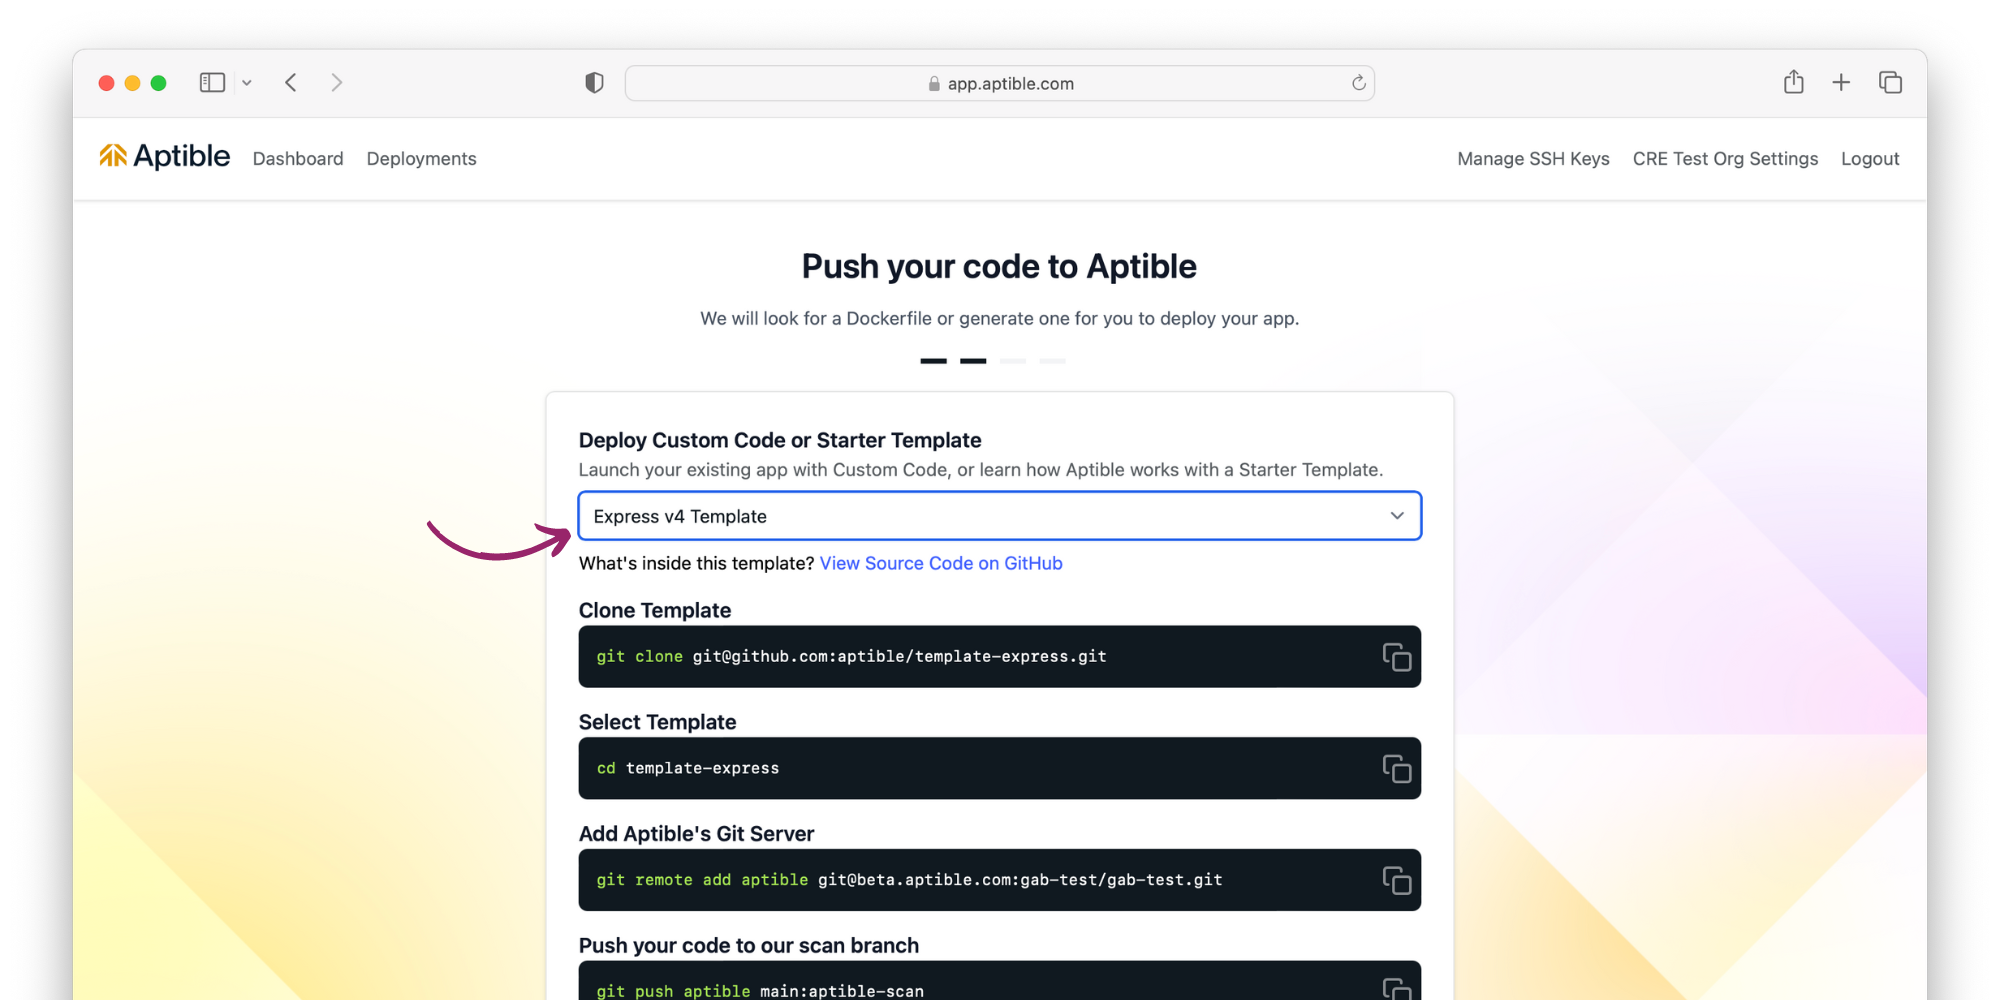
Select Express Template for deployment, and follow command-line instructions.
Step 05: Fill environment variables and deploy!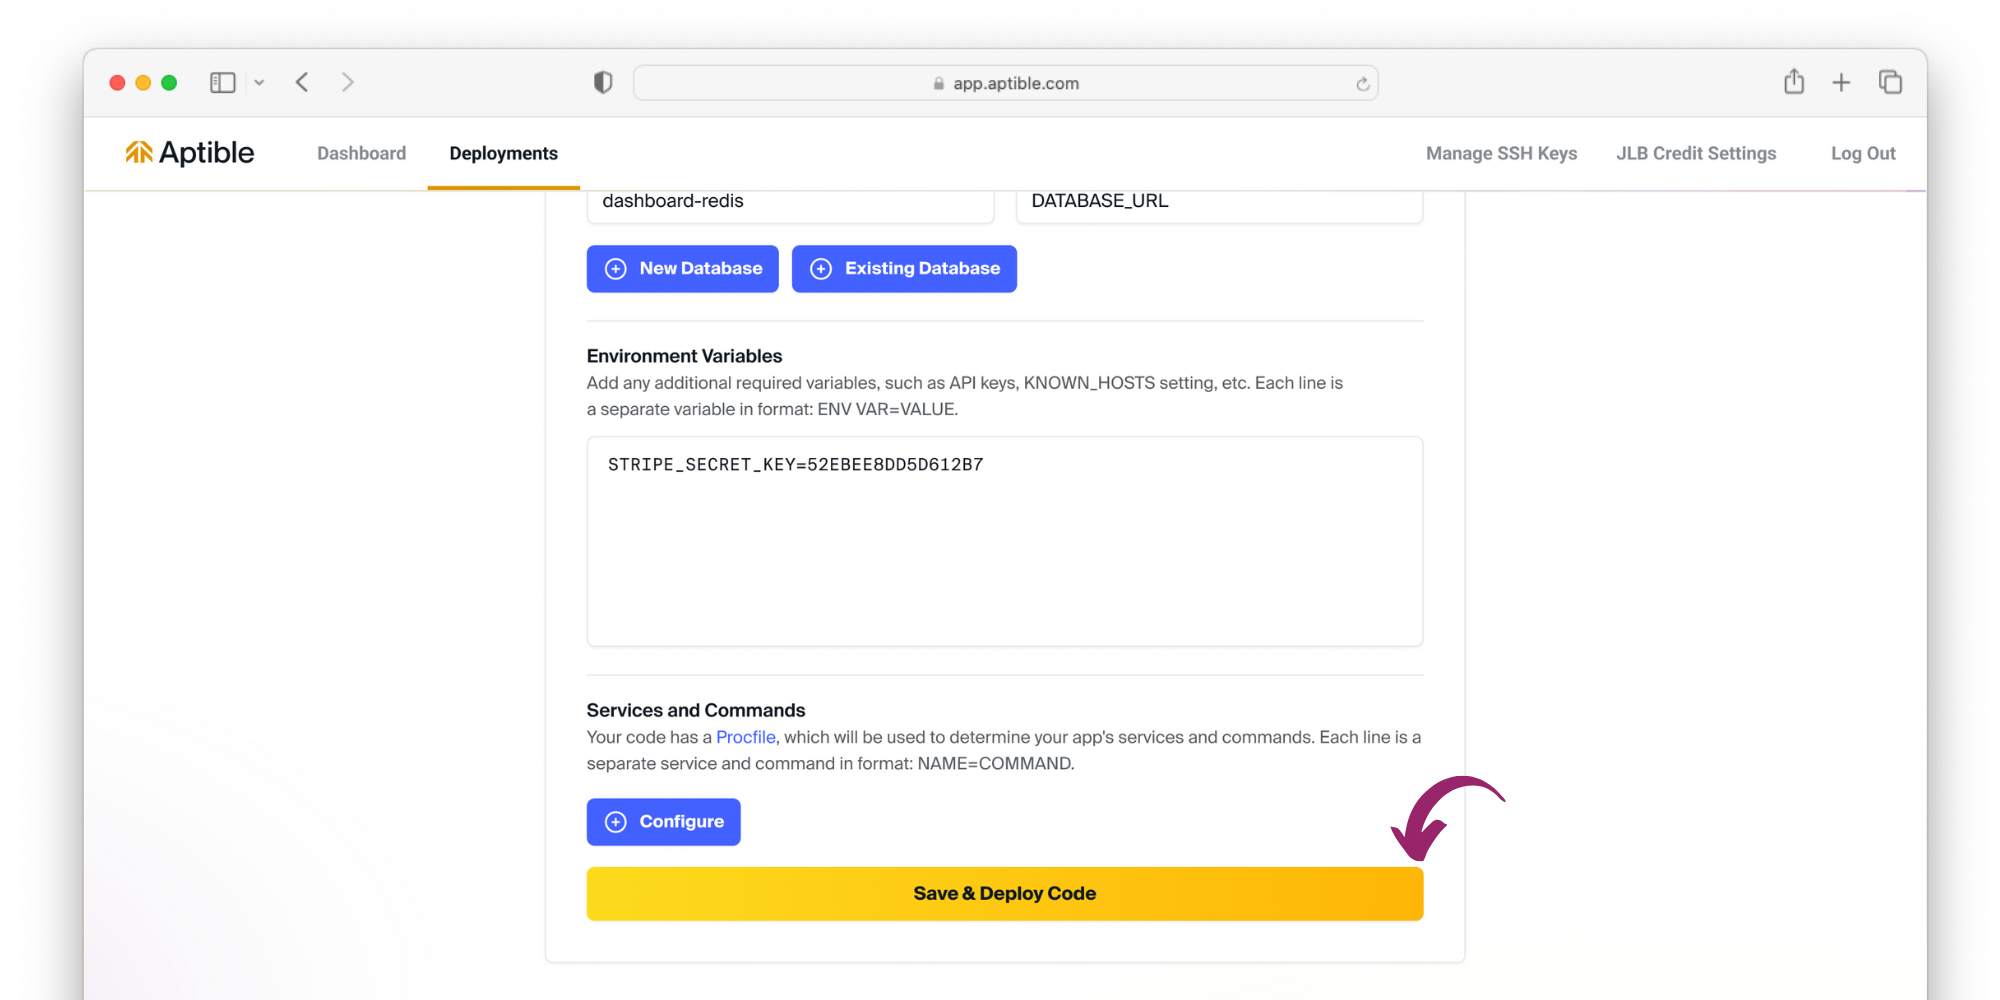
Aptible will automatically fill this template's required databases, services, and app's configuration with environment variable keys for you to fill with values. Once complete, save and deploy the code!
Step 06: View logs in real time.png)
Step 07: Expose your app to the internet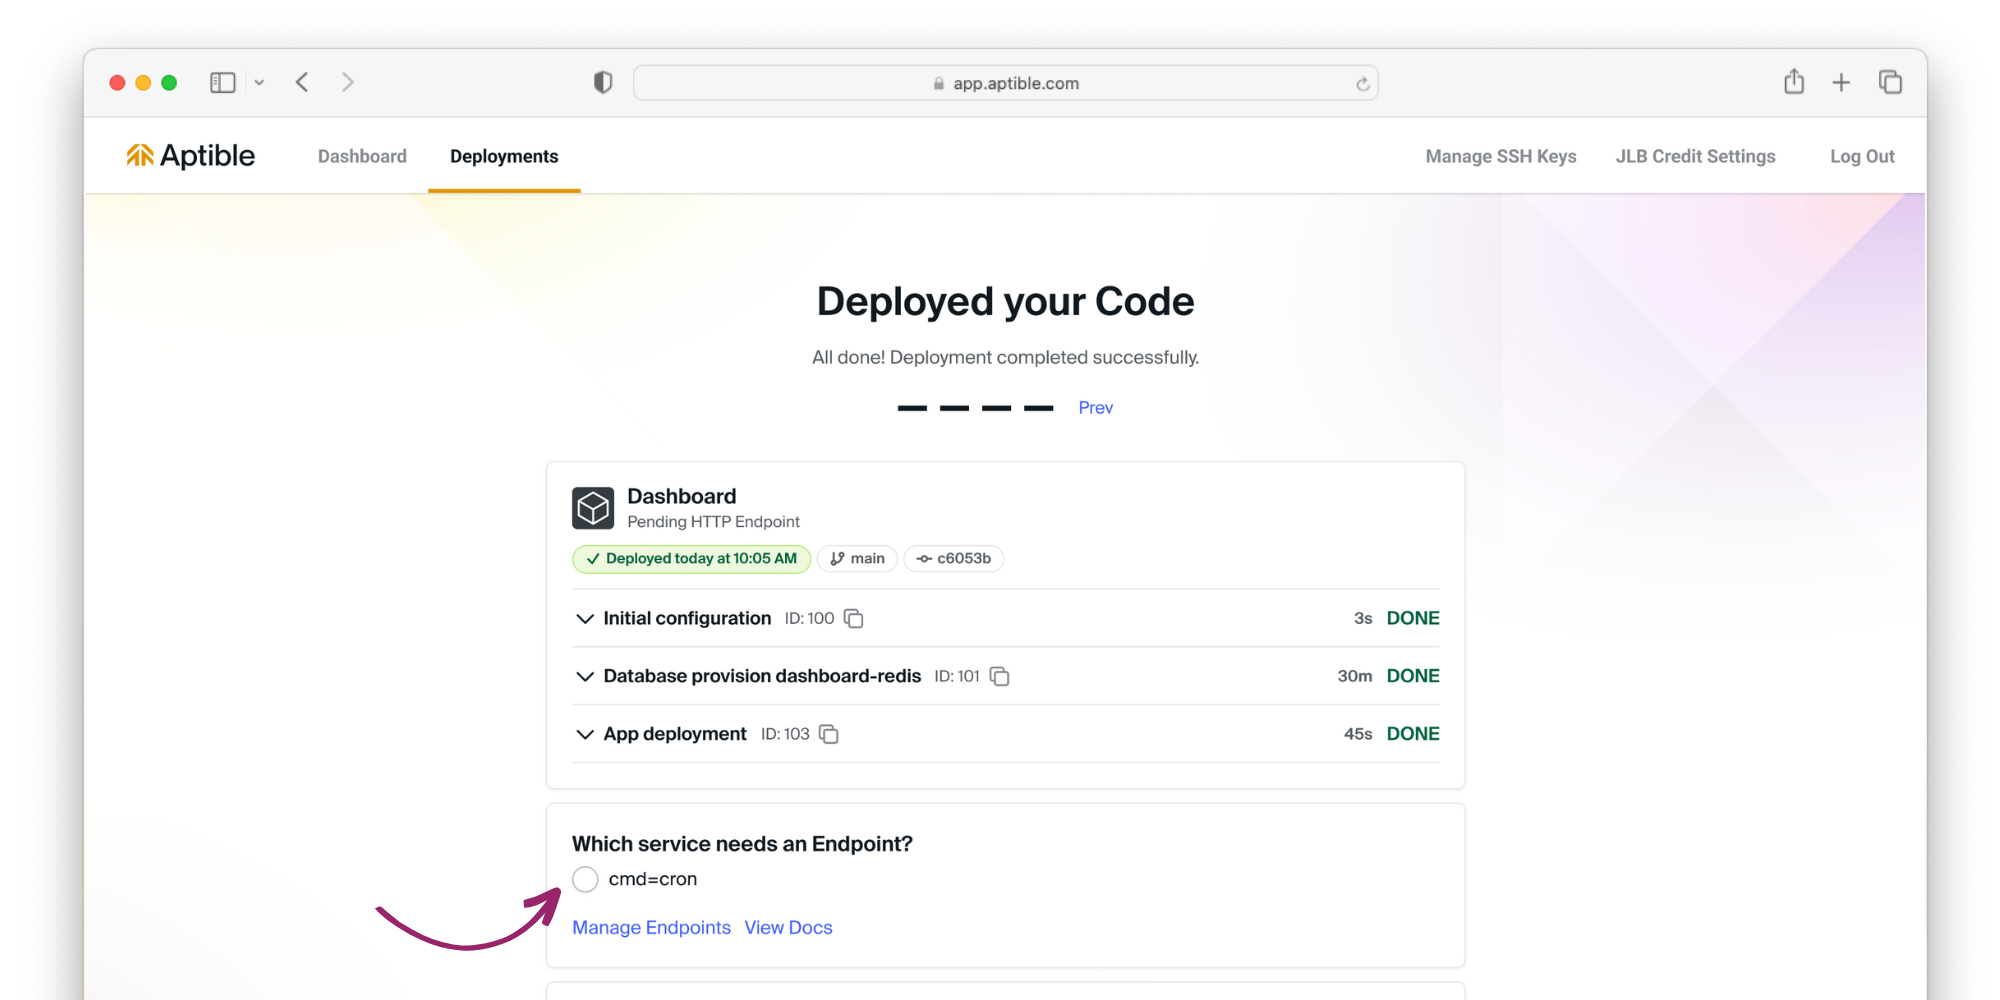
Now that your code is deployed, it's time to expose your app to the internet. Select the service that needs an endpoint, and Aptible will automatically provision a managed endpoint.
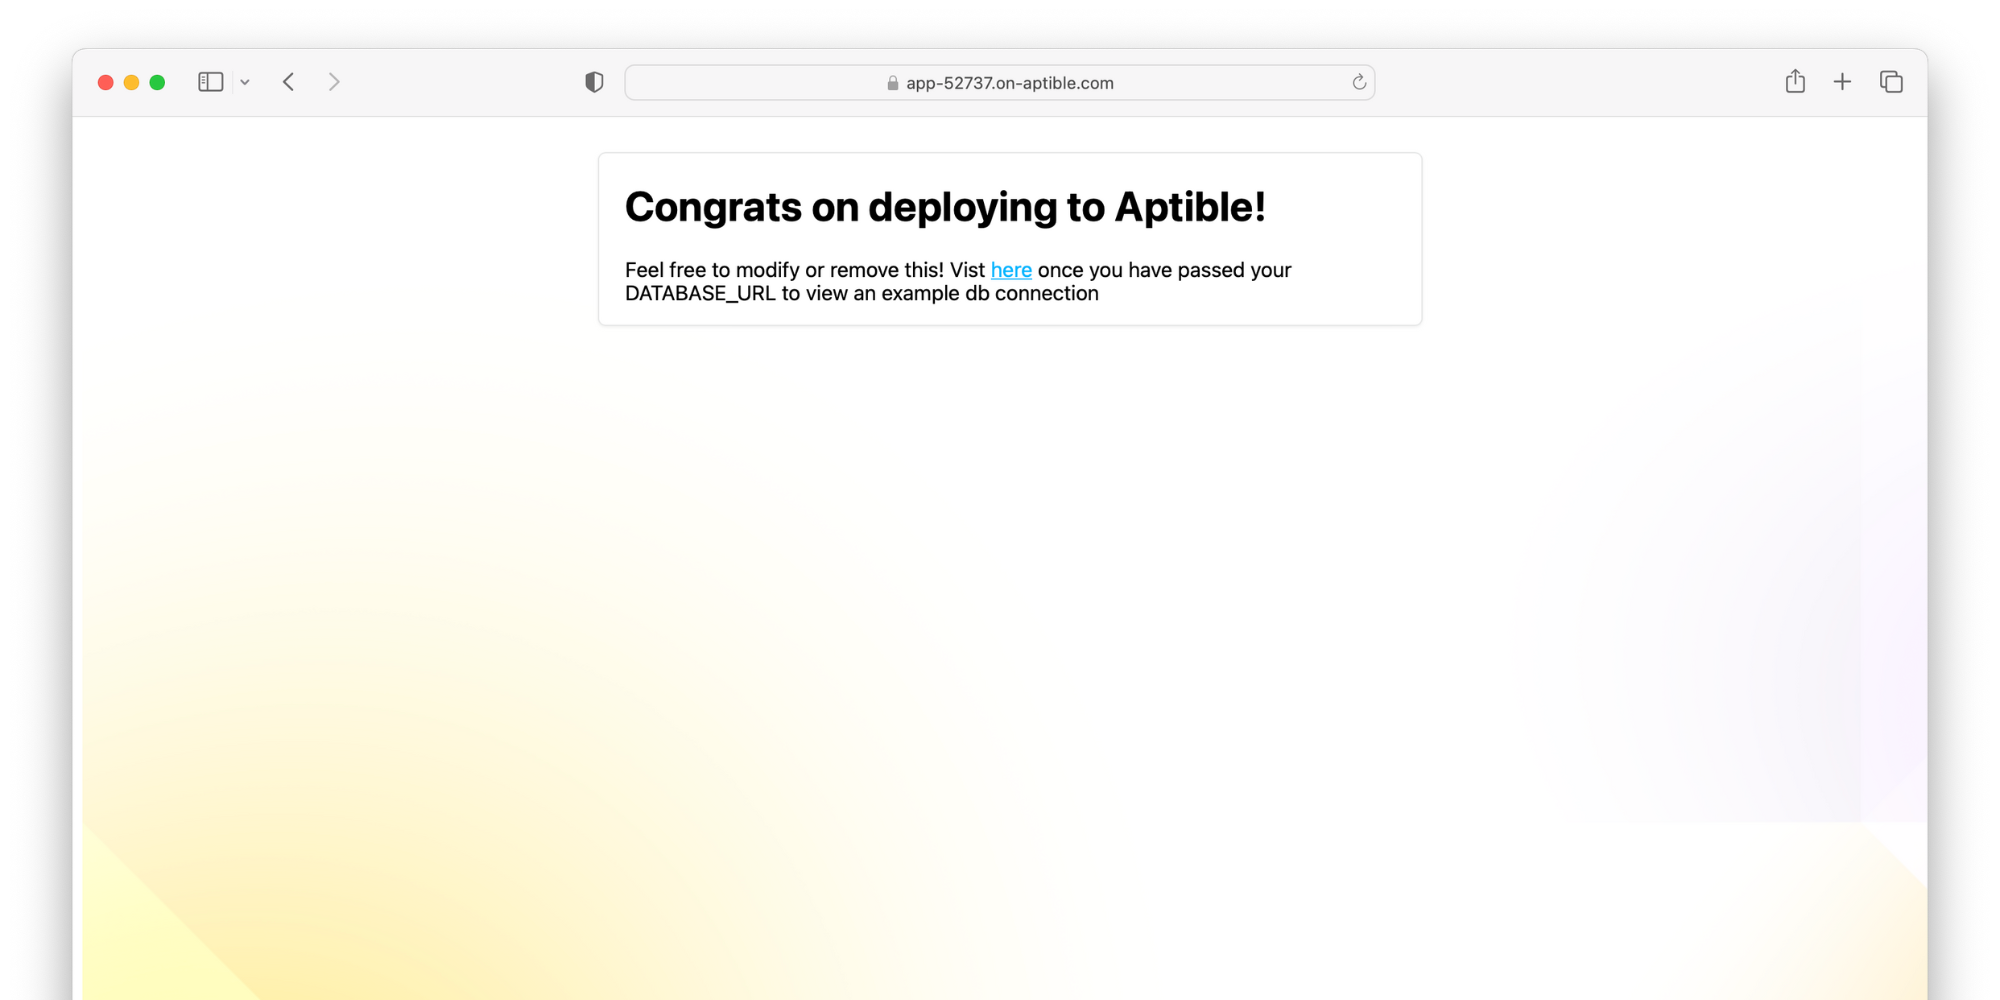
Step 08: View your deployed app 🎉
Next steps
Continue your journey on Aptible:
- Deploy your own custom code
- Learn more about how Aptible helps engineering teams
- Explore the Security & Compliance Dashboard
Node.js + Express - Starter Template
- Overview
- Quick Links
- Deploy Template
- Step 01: Deploy with Git Push
- Step 02: Add an SSH key
- Step 03: Environment Setup
- Step 04: Prepare the template
- Step 05: Fill environment variables and deploy!
- Step 06: View logs in real time
- Step 07: Expose your app to the internet
- Step 08: View your deployed app 🎉
- Next steps